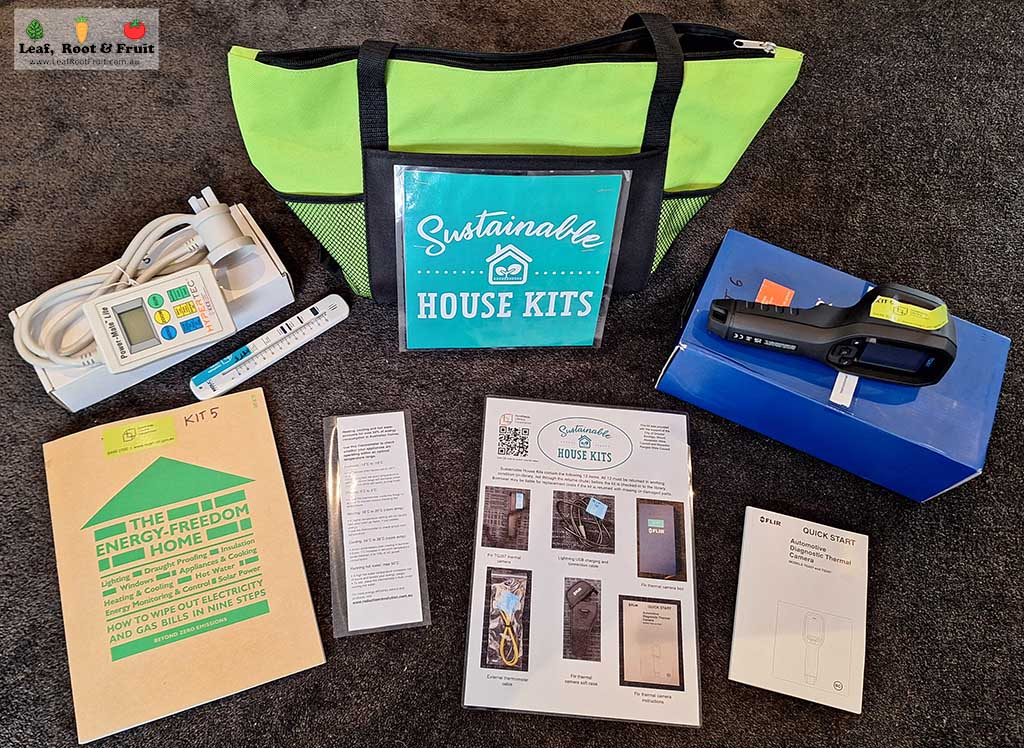
My local library in conjunction with the Macedon Ranges Sustainability Group offers for loan sustainable house kits to help improve the energy efficiency of your house. There are some exciting pieces of equipment in the kit, including a thermal imaging camera, and I’ve been on the waiting list to borrow a kit for months. This week it was finally my turn to bring one home!
What’s the first thing you do when you have access to a thermal imaging camera? Race outside and take images of your chickens sleeping, of course! This image shows how good their feathers are at insulating. Most of the heat loss in a chicken is through its face and comb.
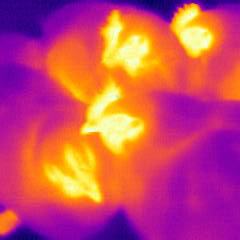
I also inspected our beehives. Bees generate a lot of heat to keep the hive warm. You can see the heat pattern quite clearly in this thermal image.
As per its intended use, I have been spending time looking at our house. But it has also given me an opportunity to look at the garden from a different perspective. We have had some cold nights recently and this has enabled me to make some interesting observations about microclimates with the thermal imaging camera. Here are a few of them.
Citrus grove microclimate
Kyneton, where I live, has cold winters. Citrus trees prefer a sub-tropical environment. They struggle with fluctuations in temperature, and wind will often cause them to lose their leaves. In short, they are fickle trees that suffer many problems. It should be challenging to grow citrus in a cool-temperate garden like mine.
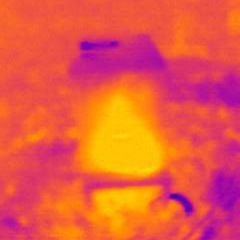
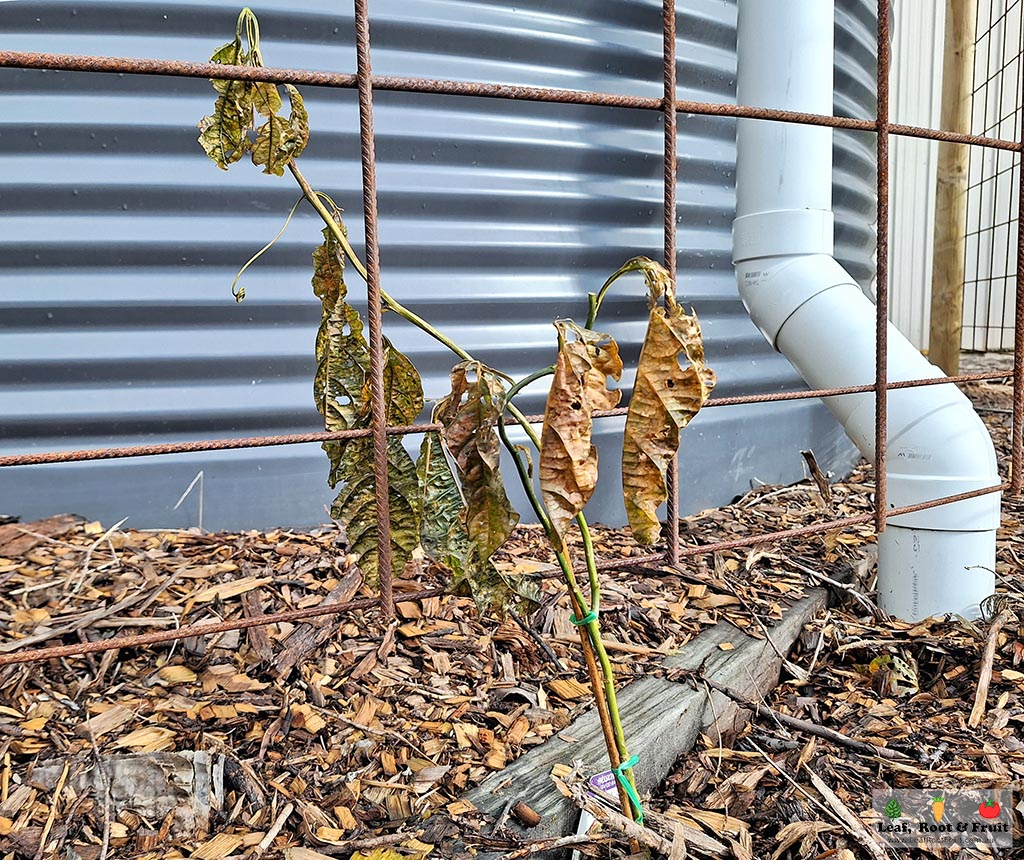
Yet we have a thriving grove of citrus trees. The grove is surrounded by an established hedge, which protects the trees from wind and regulates the temperature somewhat. Our classroom studio helps to protect the trees from the late afternoon sun in summer. We also have a 22,500 litre water tank. When full, the tank acts as thermal mass. The water temperature is far more stable than the surrounding air temperature, and it helps to regulate the temperature near the tank. We are attempting to grow passionfruit on a trellis around the tank. During mild frost the thermal mass of the tank can be the difference between the passionfruit vines experiencing frost and not. During heavy frosts, the tank’s thermal mass ensures the plants experience lighter frosts than they would in a more exposed site.
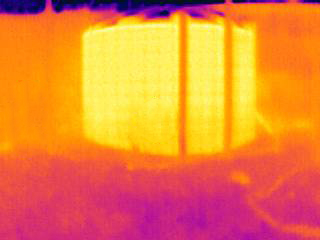
In the thermal image above, you can see how much warmer the tank is than the surrounding area. When this thermal image was taken, the air temperature was about 2 degrees C. The tank offered some protection to the passionfruit vine (although not quite enough, it seems)
I’ve written more about microclimates in my serialised gardening guide Vegetable Patch from Scratch. It has some further specific information on my citrus grove microclimate and a great aerial image showing how the various features affect frost patterns.
Netted enclosure microclimate
I’ve protected my orchard from wildlife such as birds and kangaroos by building a large netted enclosure. The wildlife-friendly netting is stretched over what is essentially a walk-in anti-aviary measuring 20 metres by 30 metres.
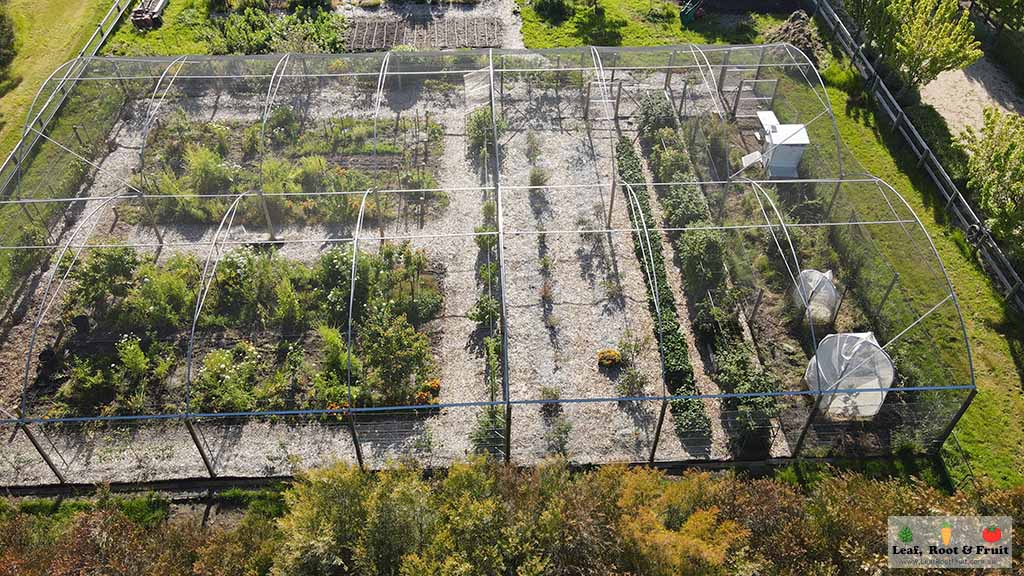
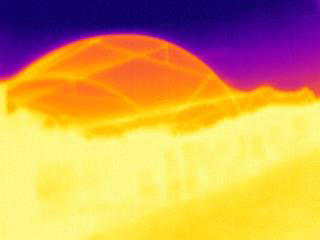
The netting is obviously permeable and allows pollinators, insects and air to pass through it. However, it does slow the airflow. On a windy day it is noticeably calmer inside the netted enclosure. On hot days the netting provides slight but noticeable protection from the sun’s rays. Despite this protection, the reduced airflow can increase humidity and make it feel warmer (and it actually increases the likelihood of fungal disease). I have also noticed that plants growing inside the netted enclosure tend to suffer slightly less frost damage than those growing outside it.
It was tricky to capture, but I managed to take this thermal image on a frosty night. You can clearly see the small impact of the netting on the plants growing inside the enclosure.
Interested in having my team build your own netted enclosure?
Hot compost thermal imagery
I generate most of the compost for our garden on the property, rather than buying commercially made compost. I use several different methods of composting, including worm farms, chickens and hot composting.
Hot composting is great for generating large amounts of compost. As organic material breaks down, it releases heat as an exothermic reaction. A well-constructed hot compost pile will heat up to around 60 to 70 degrees Celsius.
The heat generated by the hot compost has the benefits of:
- Speeding up the decomposition process
- sterilising most weed seeds
- killing most pathogens and bad microbes.
We have three permanent compost bays. The first bay currently contains an active hot compost pile.
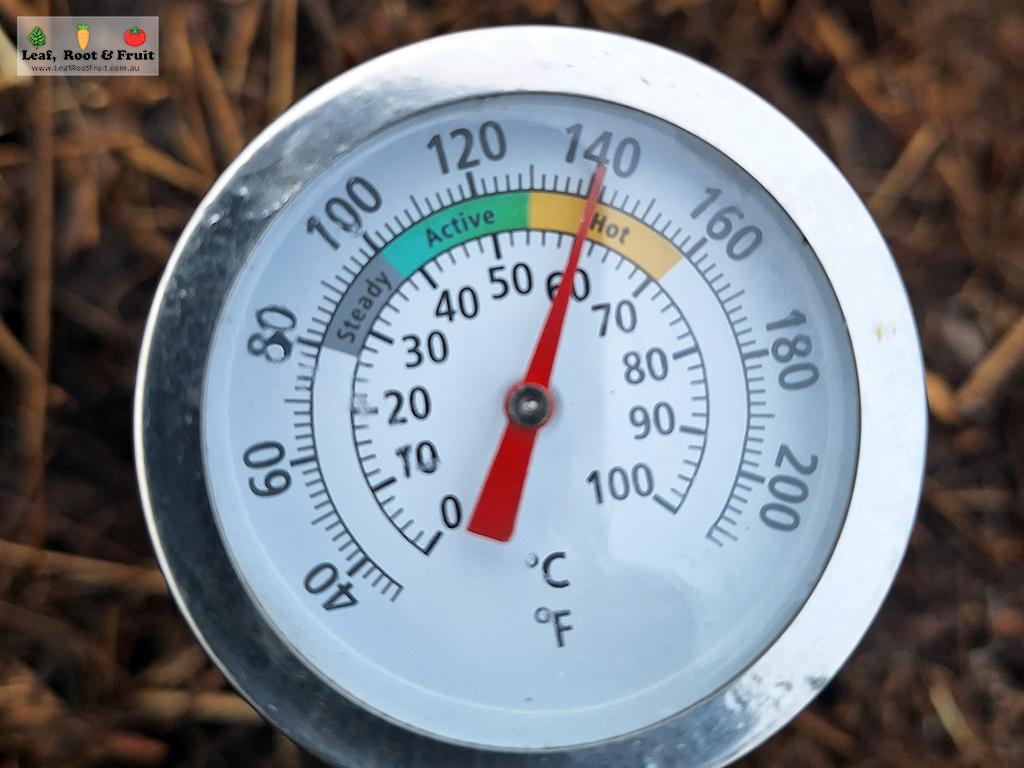
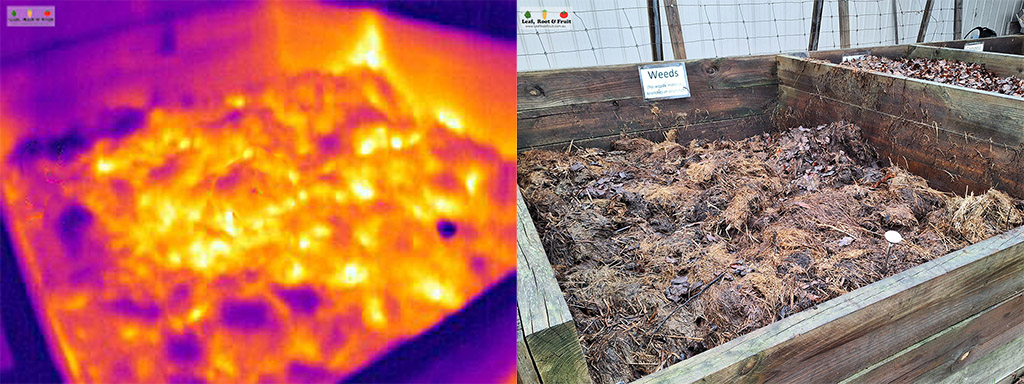
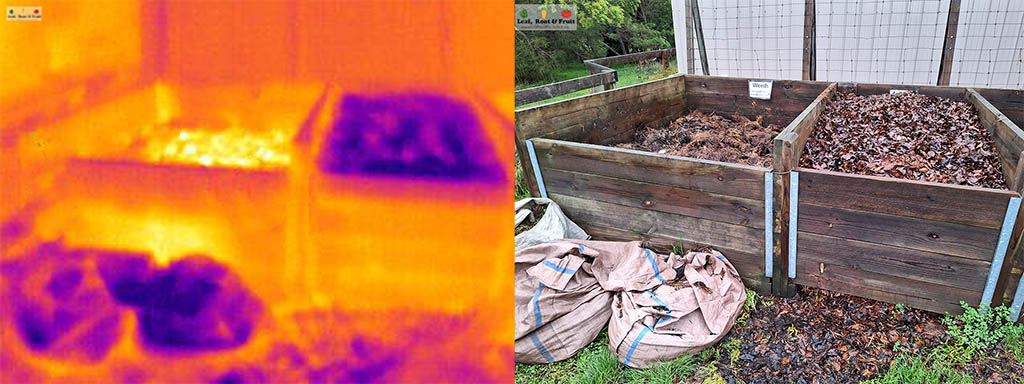
According to our compost thermometer it is sitting at around 60 degrees C. The middle bay is our leaf mould bay. It has all the autumn leaves piled up in it. Autumn leaves are predominately carbon, so they break down slowly in a form of fungal decomposition. This doesn’t release much heat. The third bay is empty, ready for participants in our upcoming compost workshop to build a new hot compost pile.
In the thermal image below, you can see the difference in heat generated by the two compost bays in use.
There are a few rules to follow when hot composting:
- You must have a minimum of 1 cubic metre in volume.
- You must build the heap all at once. This process is different from cold composting, where you add kitchen scraps and other material gradually over many months.
- You must add enough water to moisten the heap throughout.
- The carbon and nitrogen ratios must be correct. This is not as complicated as it sounds. If you use a diverse mix of materials, such as garden prunings, straw, dry leaves, lawn clippings, animal manure and kitchen scraps, the ratio will usually take care of itself.
Construction of a hot compost pile is a bit like making a no-dig or lasagne garden bed. You alternate layers of carbon-rich and nitrogen-rich materials. It’s a fun activity to do in a group.
Check out my guide to composting for more information on different composting solutions (including a handy flow chart). It includes plenty more information on how to set up a hot compost heap. This post discusses how to use compost in the vegetable patch.
